

Step One:
find your project buddy and fabric

Step Two:
Measure and cut two rectangles that are about 30 inches long and 20 inches wide. I decided these measurements by 30 inches = the length I wanted for the back from neck to hem / 20 inches = half the thickest part of the torso.
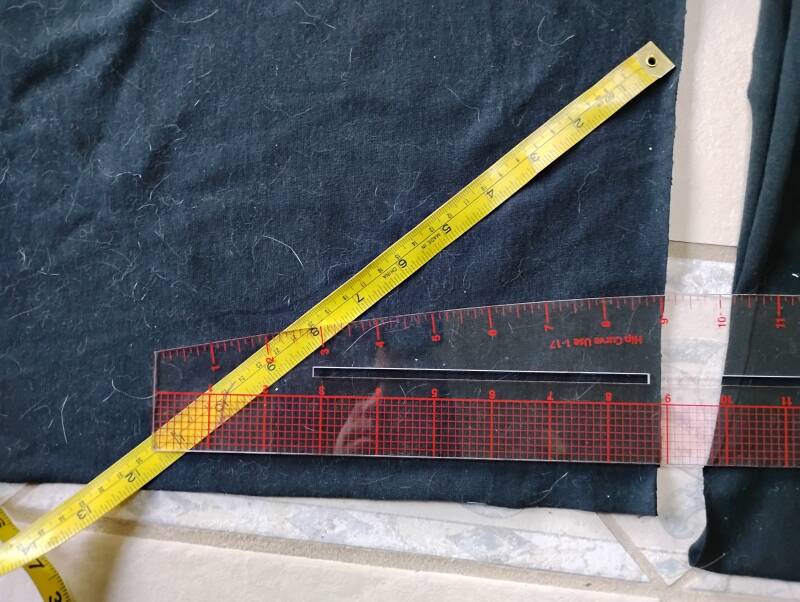
Step Three:
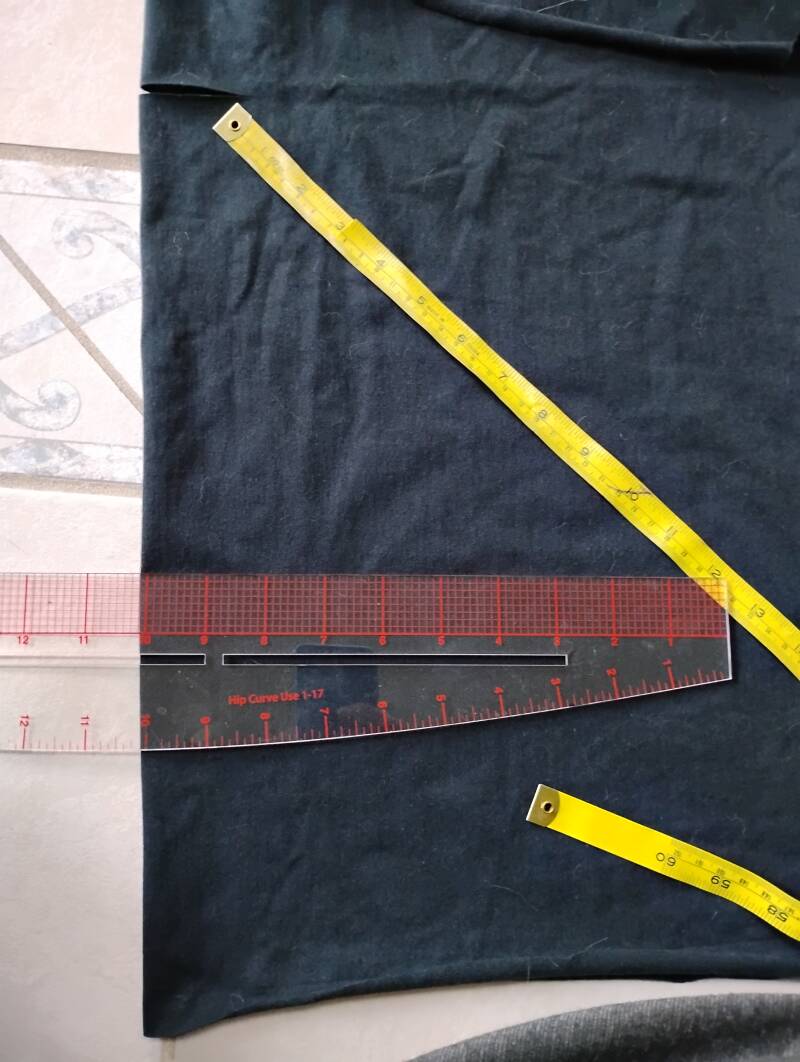
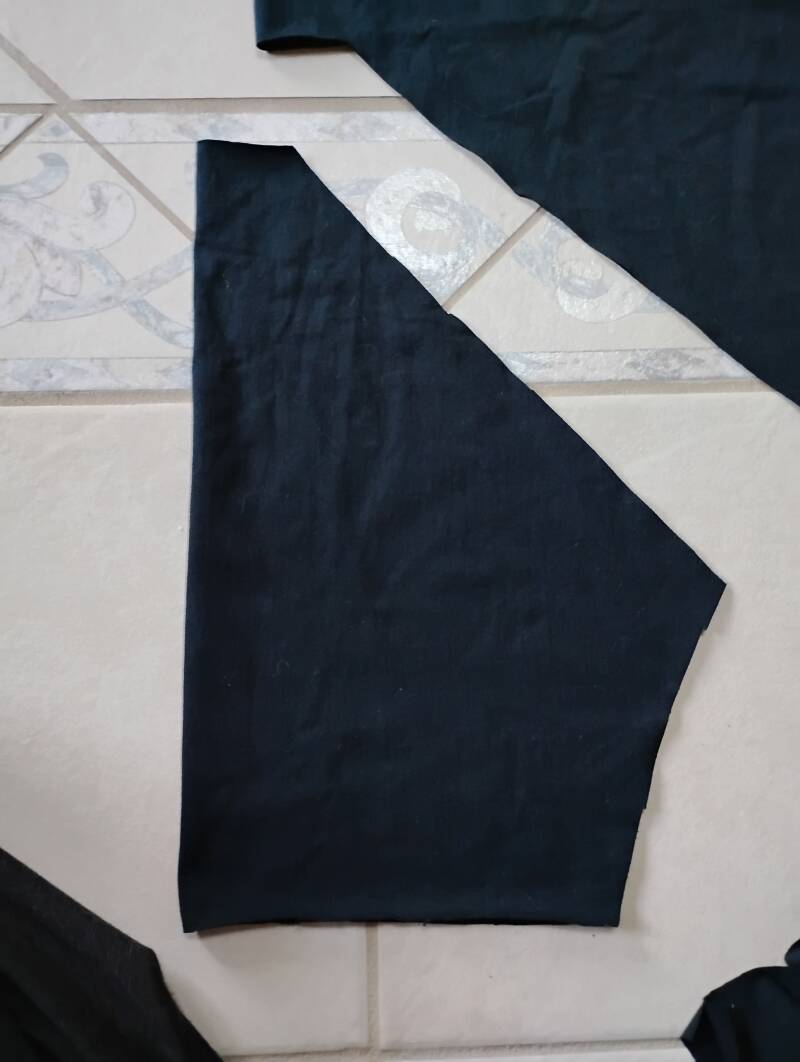
Measure from your armpit to halfway up your neck on the front and back sides. Add them together and divide by two. This number, 12 in my case is what you will line up at a nearly 45 degree angle between the top line and side line of the fabric. Add some curve at the bottom of the arms for more comfort imo.
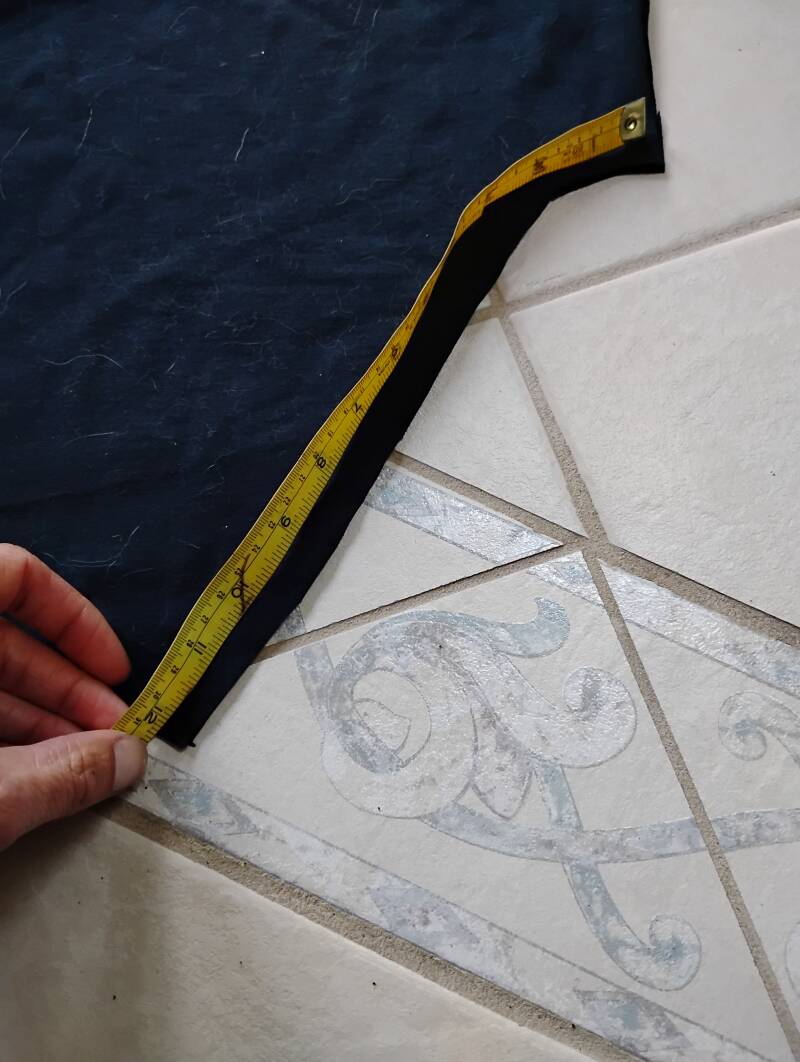
Step Four
Cut a rectangle the width of your arm at it's widest and height of the length from your neckline to wear you want the sleeve to go. Then cut out a shape like this with 2" at the top and a 1/2 arm width measurement at a 45° angle and a base that tapers in (in my case with intuition) to where you want it to be at the hem of the garment.
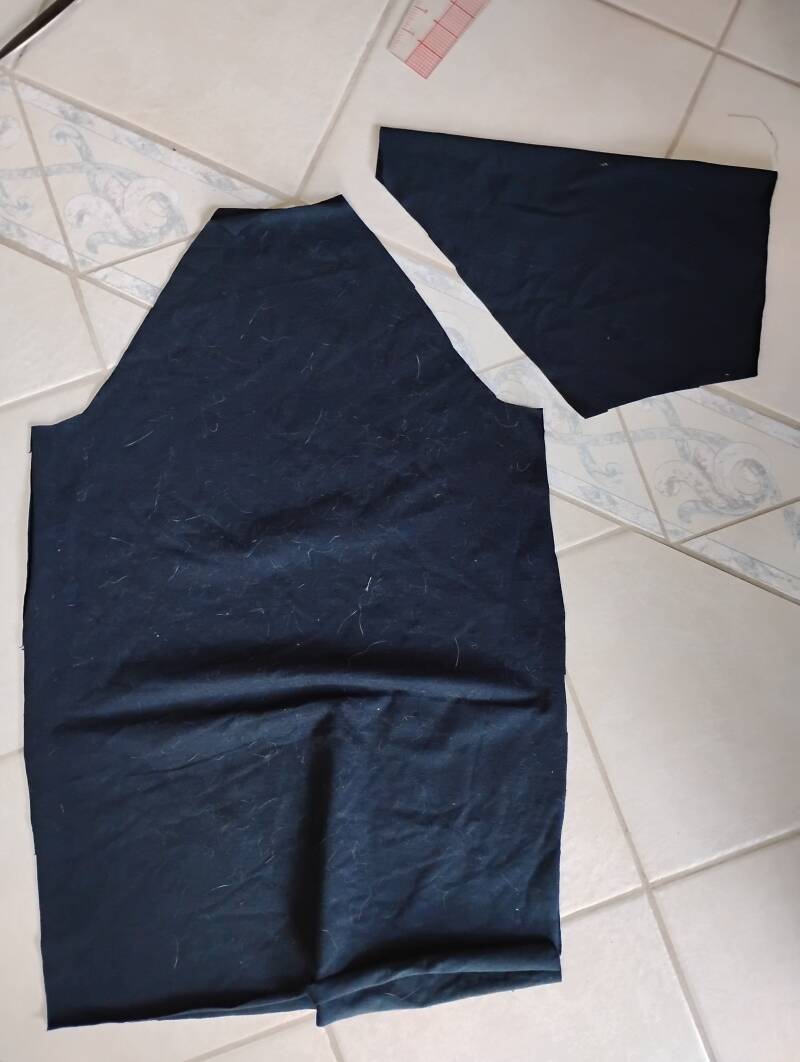
This is what it will look like when the shirt pieces are folded out flat and layered on top of eachother. The sleeve is double layer folded at the top of the sleeve.
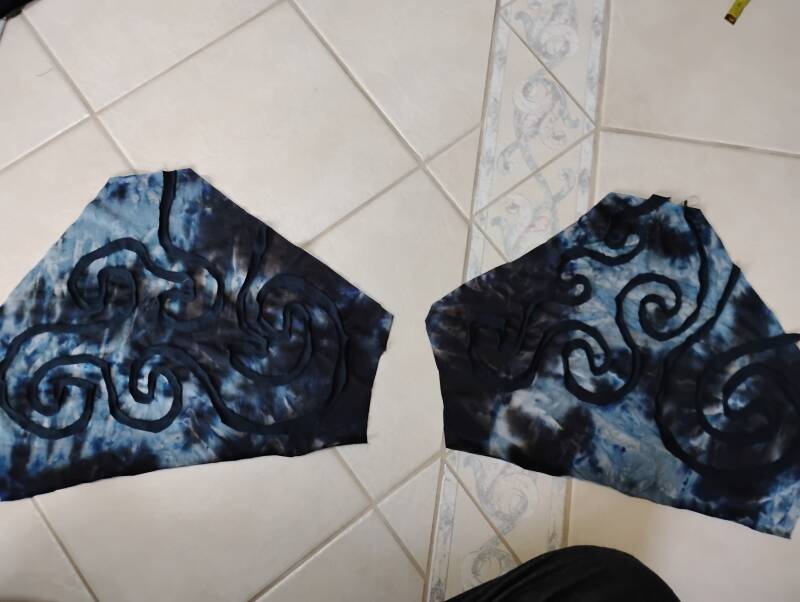
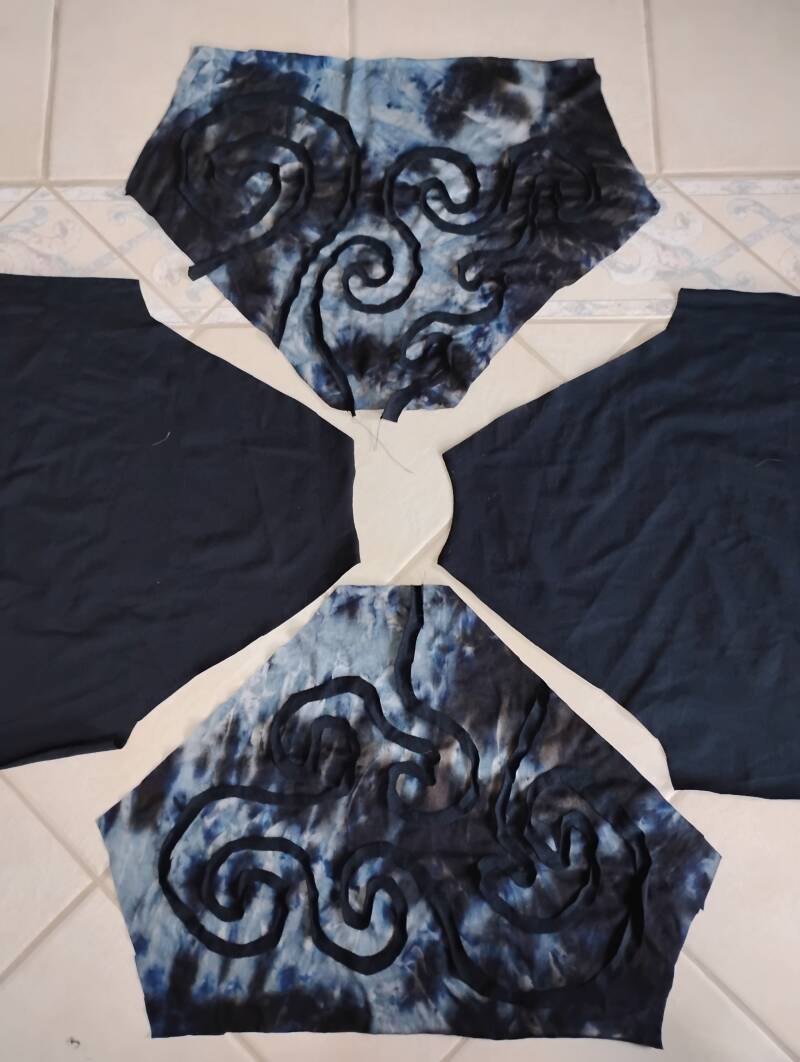
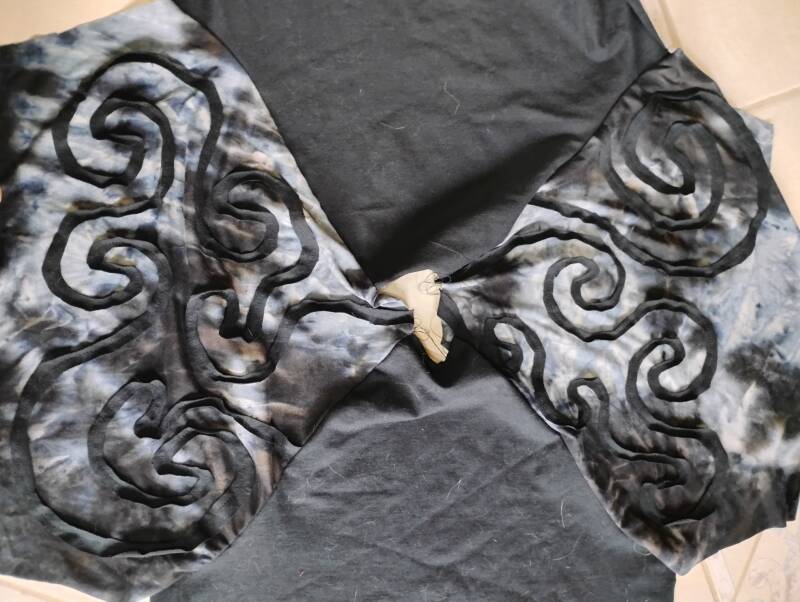
Lay out your pieces like so and x will mark the spots you have to sew. That's not a riddle. You can see the x in the floor tile beneath. Don't sew up the neckhole at the top.
Then sew down the sleeves from hem to hem starting at the sleevehole hem and going down the inner arm along the side seam of the main body to the hem. Add gems and finishings as desired.
Add comment
Comments